Compiling Plugins
This guide explains how to compile open source plugins, in order to transform the code into a final JAR that can be used on the server.
What does Compile mean?
When creating a Java program (such as a plugin), the programmer writes the source code in .java files and relays the instructions he wants his program to do in them.
The problem is that computers cannot read source code as such, and so in order for the computer to process what the programmer has written, it is necessary to translate the code to a language that the computer can understand, such as translating from English to Spanish.
This process of "translating" the code is called compilation.
NOTE
- The result at the end of compiling will be a
.classfile or, in cases such as plugins, several.classfiles packaged in a.jar. - An already compiled plugin cannot be edited. This is why in order to modify a plugin, it is best to have the original code at hand.
- It is possible to do a process called "de-compilation" (the same as compiling but in reverse), but it may not always give the same code as before.
This entire tutorial uses the code of the WorldBorder plugin.
Before Compiling
It is necessary to identify the kind of dependency system used by the plugin you are going to compile, whether Maven or Gradle, as well as the version of Java to use for the plugin.
How to identify the type of plugin
Several plugins will mention whether the they use Maven or Gradle in the repository description. If you already know which one to use in advance, you can skip this step. Enter the page where the source code of the plugin is, like say in Github.
Let us view the source code files of the WorldBorder plugin.
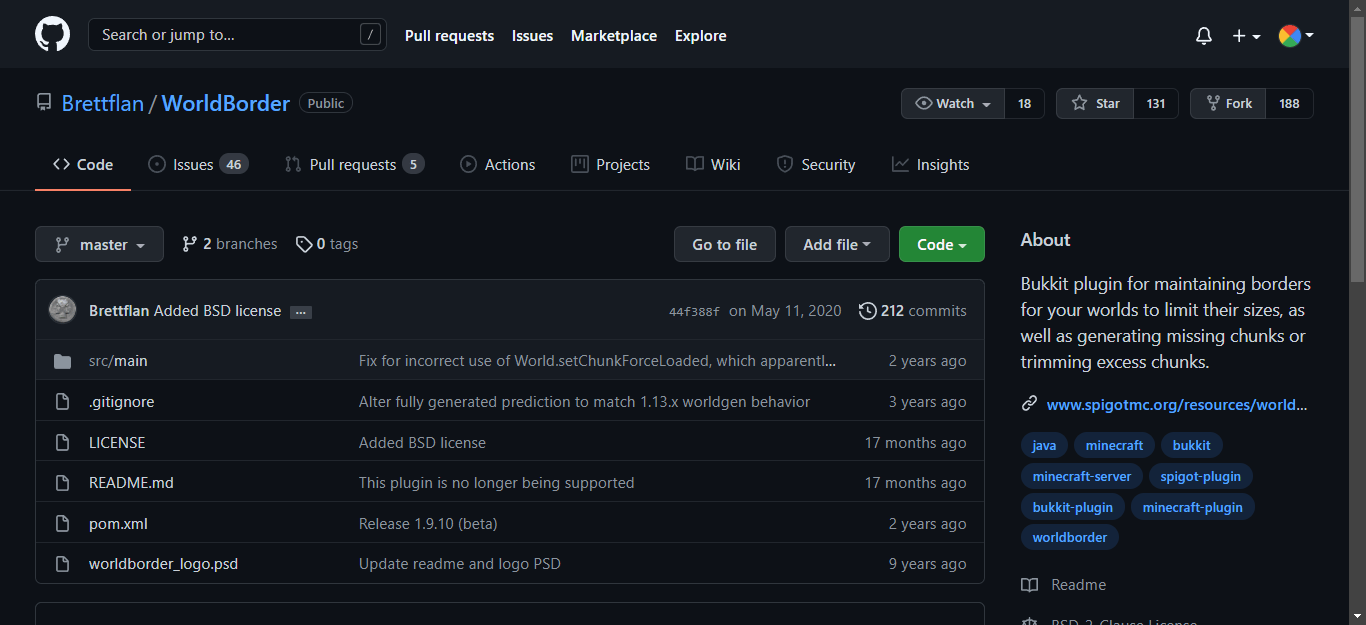
Look at the files in this root dir:
- If there is a pom.xml, the plugin uses Maven.
- If there is a gradlew.bat, the plugin uses Gradle.
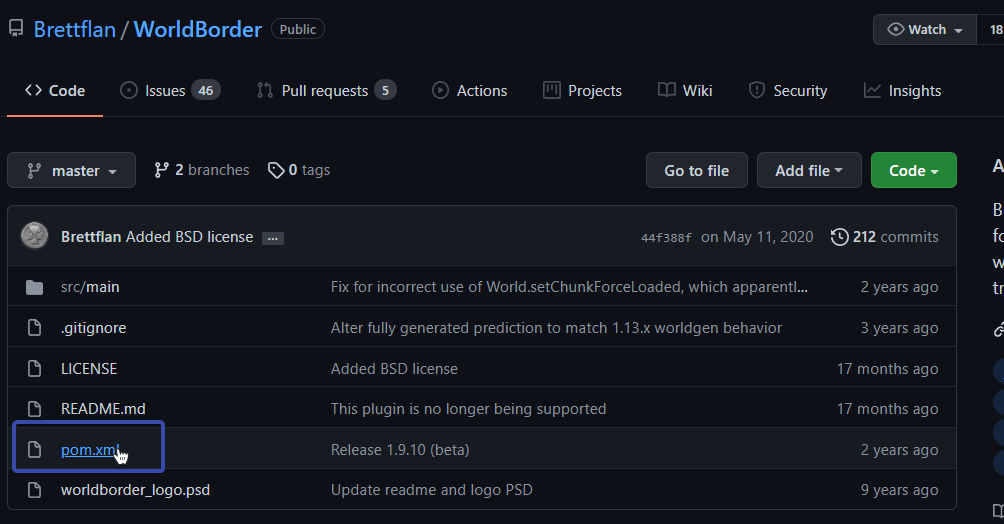
And so therefore we can deduce that Worldborder uses Maven.
How to identify the Java version
There are no exact steps to identify the Java version to use for all plugins, but you can be guided by a few points:
- Some plugins indicate on their own Spigot page: "Requirements: Java X". In this case, you should compile the plugin with the Java version it specifies.
If the plugin does not otherwise specify the version you can refer to the following:
- For plugins that only support
1.18+Java 17 is required. - For plugins that support
1.16-1.18, you can try Java 16 or 17. - For older plugin versions such as those meant for
1.8or1.12.2, it is recommended to use Java 11 or Java 8.
Compiling the Plugin
Create a GitHub account
You first need to register on GitHub to be able to log in to GitPod later.
Upload the repository to GitPod
GitPod is a Cloud IDE platform that allows you to create instances to quickly edit and deploy code in the cloud. In other words, it is a small computer in the cloud.
In this case, we are going to use it to compile the plugin, since each instance or “computer” that GitPod gives us already has the necessary tools installed such as Maven, Gradle, SDKMan, etc. Otherwise we would have to install all this on our computer.
-
Copy the link of the repository where the plugin code is.
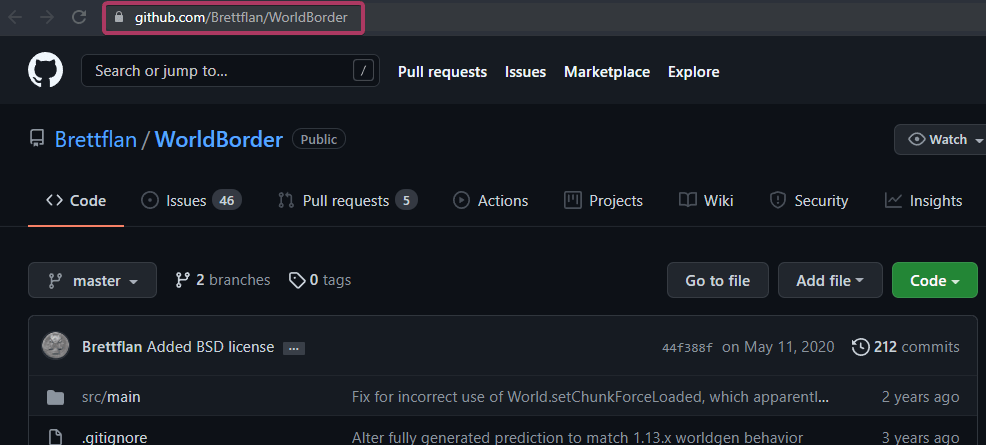
In this case, the link is https://github.com/Brettflan/WorldBorder.
-
Paste the link you just copied at the end of https://gitpod.io/# and go to that new link. Here the final result will be https://gitpod.io/#https://github.com/Brettflan/WorldBorder
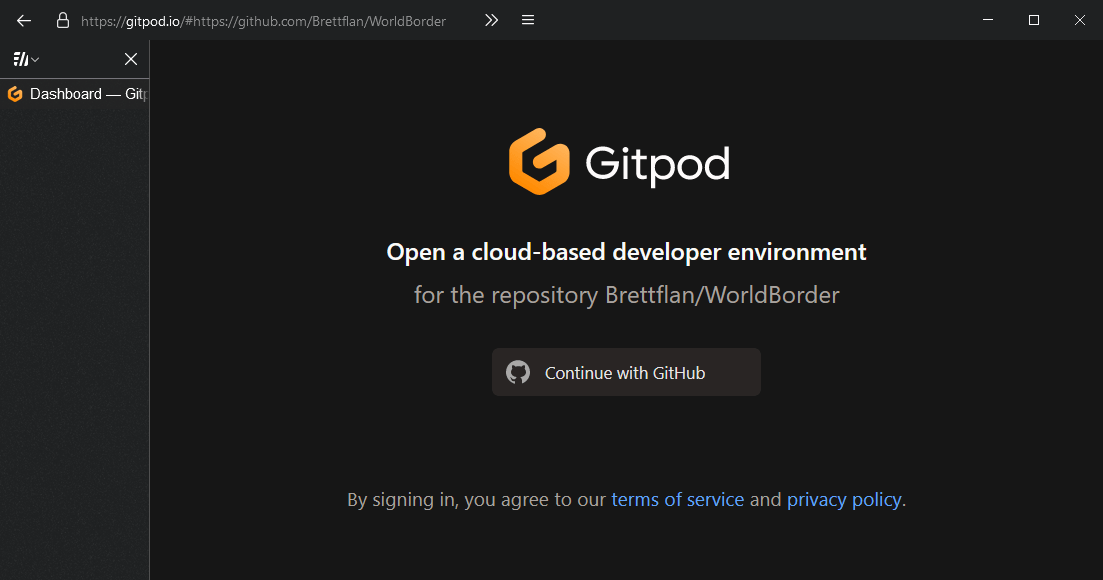
-
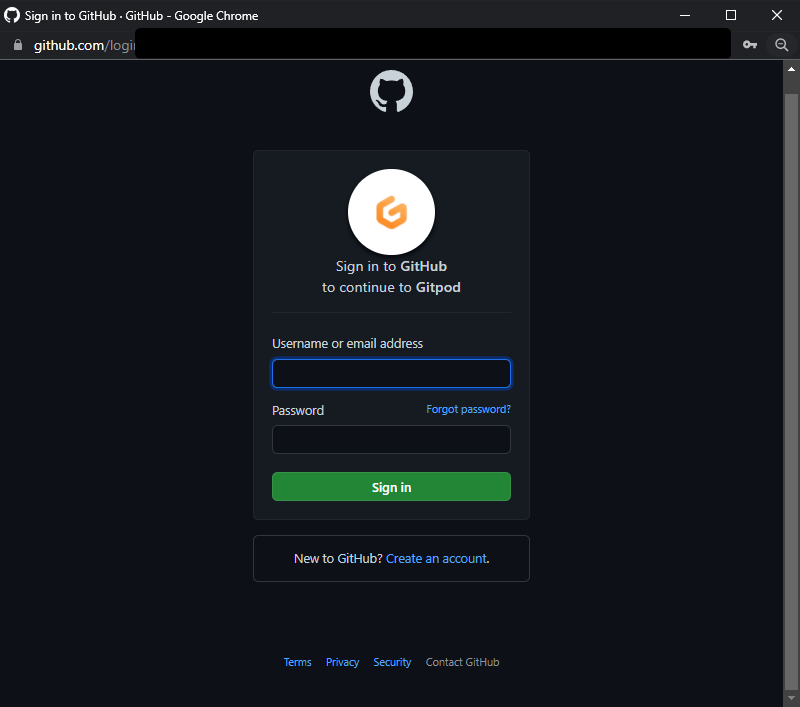
Click "Continue with GitHub" and sign in with the Github account you created earlier.
-
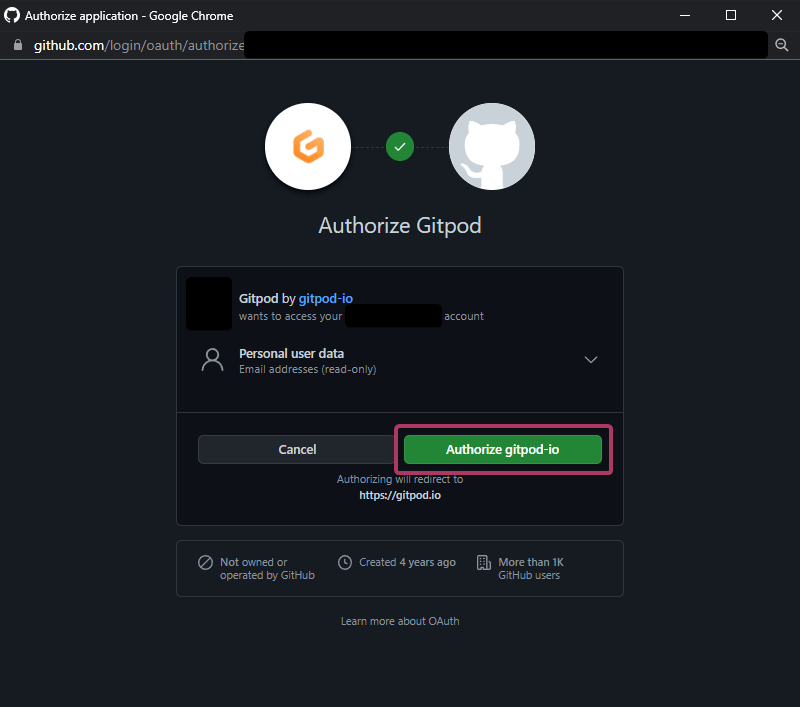
Gitpod will ask for permission to connect to your Github account. Hit Authorize gitpod-io.
-
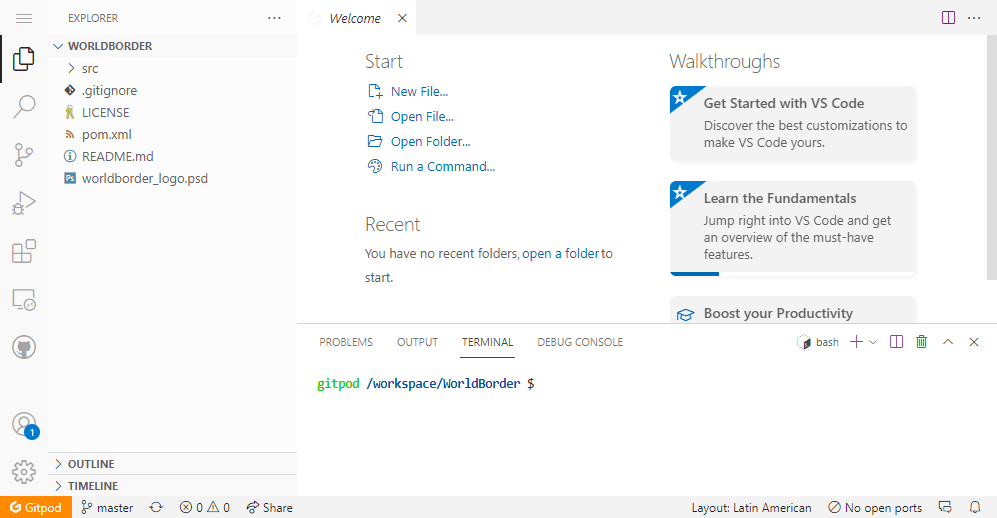
Once the authorization process is complete, you should be on a screen like the following:
-
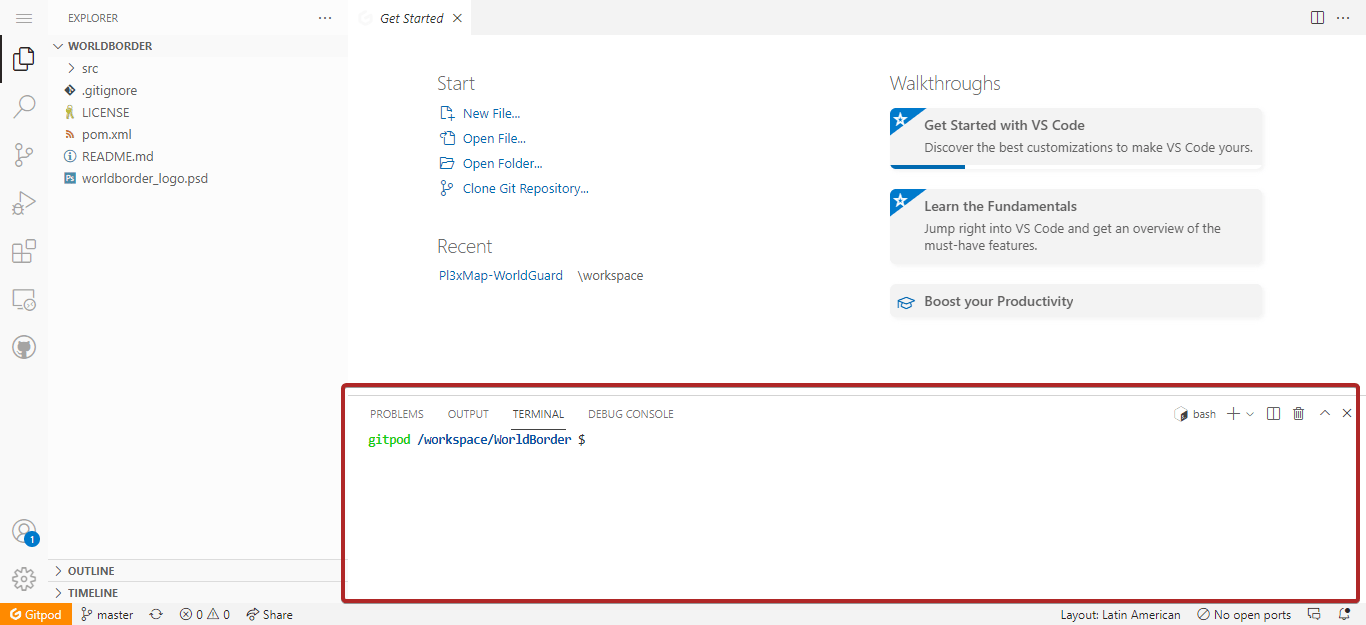
Locate the TERMINAL tab at the bottom right. In this window we will put the commands to manage the GitPod instance.
NOTE
- If the terminal window is not seen you can toggle the terminal panel using the Ctrl+` keyboard shortcut.
- You can click the + button at the top right side of the terminal window or use the Ctrl+Shift+` keyboard shortcut to add a new terminal.
Change Java version
Once the code has been uploaded, we are going to change the version of Java that we will use to compile the plugin.
NOTE
GitPod comes with Java 11 by default. If you are going to use that version, you can skip this step.
-
You can check your current Java version at any time with the
java -versioncommand.
OpenJDK version "11.0.12" = Java 11
-
To change the version, you must first install the one you want with the command
sdk install java <version>.Here is a table with the available versions and the commands you must execute to install them:
Version Command Java 17 sdk install java 17.0.1-temJava 16 sdk install java 16.0.2-temJava 11 sdk use java 11.0.17.fx-zuluJava 8 sdk install java 8.0.302-tem
NOTE
You can always revert to the version of Java you want using the sdk use java <version> command, as long as you have already installed it with sdk install.
3.Once the installation is finished, this message will appear:
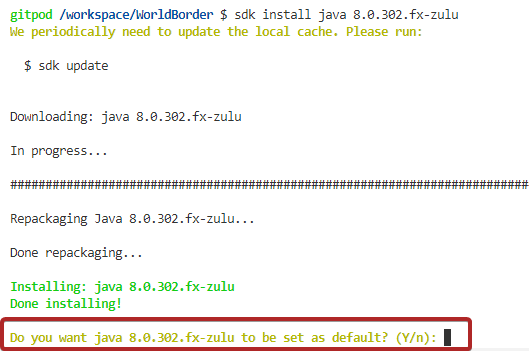
It's asking if you want to use this version of Java going forward. Type Y and press Enter. With this you will have finished changing the Java version.
Compile
-
The command to compile will depend on whether the project uses Gradle or Maven.
Gradle:
Use the
chmod +x gradlewcommand and then the./gradlew shadowJarcommand. If it doesn't work with./gradlew shadowJar, try./gradlew buildMaven:
Use the
mvn packagecommand. -
Once you execute the command, the compilation process will start and many things will begin to load. You're done when it says BUILD SUCCESS in Maven, or BUILD SUCCESSFUL in Gradle.

Once the build is finished, the location of the file depends on whether the project uses Gradle or Maven.
Gradle:
You can find the file inside the
./build/libs/folder.Maven:
You can find the file inside the
./target/folder.
NOTE
Some plugins are cross-platform (they support Bungee and Paper at the same time, for example) and/or are organized in modules, such as PlotSquared.These plugins separate common code used between all platforms with the code for each platform, so if you search in the regular location you will not find the plugin jar, but instead the common code that cannot be loaded by any platform.
In these cases you can find the plugin jar according to the platform you need, for example for PlotSquared: ./Bukkit/build/libs. For cross-platform plugins they are usually organized by the platform folder, for example ./bungee/build/, ./velocity/build/, etc. In this same way you can also recognize if a plugin is cross-platform and whether it works using this system.
3.Right click on the file and then click Download....
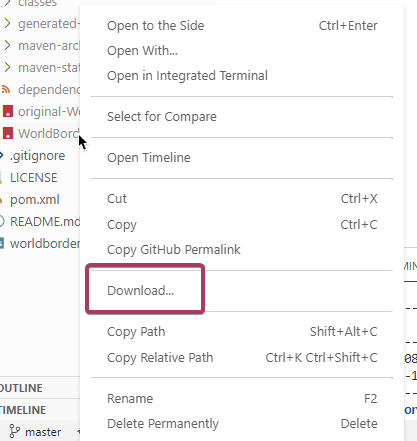
4.The file will be downloaded and you can upload this to your server. You can follow the plugin uploading guide for this.